Diagnosing fabric wear and common tender issues
A soft tube on an inflatable tender or a frayed canopy on a runabout usually signals routine fabric fatigue rather than catastrophic failure. Small punctures occur when dragging a tender over shell-strewn shorelines or rubbing against rough pilings, while canopy fabric degrades under relentless sun exposure. Addressing these problems before moisture penetrates internal scrims or wind tears bimini seams saves substantial money and keeps your vessel operational throughout the boating season.
Before ordering patches or replacement fabric, you must diagnose the root cause of the pressure loss or structural sag. A tender that loses firmness overnight could have a slow valve leak, an abrasive wear spot along the bottom tracking strips, or a pinhole hidden beneath an exterior seam. Similarly, a sagging overhead cover might only need strap tensioning, or the canvas may have stretched past its elastic limit under years of wind load.
Boaters who use their craft frequently as shore tenders when staying at marinas with transient slips understand that dependable auxiliary gear is essential. Taking an afternoon to inspect collars, valves, rub strakes, and frame hardware helps prevent frustrating breakdowns away from home dock facilities.
Identifying Hypalon versus PVC tube construction
Selecting the correct inflatable boat repair kit depends entirely on identifying the base elastomer of your tubes. Modern inflatable craft are almost universally constructed from either polyvinyl chloride (PVC) or chlorosulfonated polyethylene, commonly known by the brand name Hypalon or CSM. Using PVC glue on a Hypalon collar—or vice versa—results in complete bond failure once the tube is pressurized and exposed to ambient warmth.
You can determine your hull material using three simple diagnostic checks. First, inspect the seams: PVC boats typically feature thermo-welded or glued seams with a slight plastic bead or clean overlap, whereas Hypalon seams are hand-glued with an overlapping seam tape that often shows tiny traces of buffed fabric texture. Second, perform an acetone wipe in an inconspicuous spot; PVC turns slightly tacky or slick under acetone, while Hypalon resists the solvent without softening.
Finally, examine the backside of the material if accessible through an open valve port or worn scuff patch. Hypalon features a dull gray or black neoprene backing behind the outer colored layer, while PVC maintains uniform color throughout the coating layers. Knowing whether you are repairing a classic rubber dinghy or a welded polymer hull ensures your adhesive bond cures into a permanent chemical weld.
Assembling the right patch kit components
A reliable inflatable dinghy patch kit contains far more than just a tube of retail contact cement and a scrap piece of vinyl. For field repairs that withstand working pressures of two to three pounds per square inch, you need a specialized two-part adhesive containing a base glue and an isocyanate curative accelerator. Single-part glues work well for temporary emergency patches, but two-part systems provide the heat resistance required when dark tubes sit in midday sun.
In addition to matching patch fabric and two-part glue, an effective rib boat repair kit includes lint-free rags, high-grit abrasive paper, masking tape, clean measuring syringes, and a heavy metal seam roller. Hypalon requires aggressive mechanical abrasion with 80-grit paper to strip away the slick oxidation layer and expose raw rubber fibers, whereas PVC requires only light scuffing with 180-grit paper followed by a chemical wipe with methyl ethyl ketone (MEK).
Keep your repair supplies sealed inside a waterproof container stored in a climate-controlled locker rather than an exterior dock box. Marine adhesives and curative agents degrade quickly when exposed to seasonal temperature swings, moisture, and ambient air, meaning an old inflatable raft repair kit left forgotten under a console might fail right when an urgent puncture occurs.
Surface preparation for permanent tube bonds
Thorough surface preparation accounts for the majority of a successful patch bond. Begin by rounding the corners of your patch fabric using sharp shears, as square corners tend to snag lines and peel upward over time. Cut the patch large enough to extend at least an inch and a half beyond every edge of the tear or puncture to provide adequate surface area for shear strength.
Lay the patch over the damaged area on a deflated tube and trace its outline with a wax pencil or grease marker, then apply blue masking tape just outside this perimeter line. This step protects surrounding tube fabric from accidental abrasion and prevents sticky adhesive residue from marring clean gelcoat or collar fabric. Sand the marked area on the boat and the back of the patch thoroughly until the surface sheen disappears completely.
After sanding, clean both surfaces using the solvent formulated for your material—MEK for PVC hulls or pure toluene and acetone blends for Hypalon. Wipe in a single direction with clean white cotton rags, turning the cloth repeatedly until no discoloration or rubber residue transfers. Allow the solvent to flash off completely before mixing your adhesive, ensuring no trapped moisture remains on the substrate.
Applying adhesive and consolidating the seam
Mixing two-part adhesives demands accurate ratios, typically around five to ten percent curative by volume depending on the manufacturer instructions. Work in an environment with relative humidity below sixty percent and ambient temperatures between sixty-five and seventy-five degrees. High humidity causes moisture blushing in the glue, which clouds the film and ruins chemical cross-linking.
Apply a thin, even coat of glue to both the prepared hull surface and the patch using a stiff, short-bristle brush. Allow this first layer to dry to the touch, which typically takes ten to fifteen minutes, then apply a second thin layer. Once the second coat feels barely tacky without transferring to a gloved finger, carefully position the patch starting from one edge to avoid trapping air pockets underneath.
Consolidate the bond immediately using a steel or hard composite seam roller, working from the center outward toward the perimeter with firm, consistent pressure. This mechanical burnishing forces out microscopic air bubbles and meshes the adhesive films together. Leave the repair undisturbed for at least twenty-four to forty-eight hours before re-inflating the collar to full operational pressure.
Troubleshooting valve seals and transom joints
Not all pressure drops originate from tube punctures; failing air valves and separating transom joints are equally common culprits. To pinpoint elusive leaks, inflate the craft to full pressure and spray all valve bodies, seams, and floor joints with a mixture of water and gentle dish soap. Active bubbles indicate exactly where air escapes, whether through a cracked valve core, loose retaining ring, or degrading glue line.
Valve leakage often stems from grit or salt crystals lodged against the rubber seal inside the valve housing. In many cases, unscrewing the outer valve assembly with a dedicated spanner tool, rinsing the internal diaphragm with fresh water, and lubricating the gasket with silicone grease resolves the leak. If the valve body itself has cracked, complete replacement units can be threaded into the existing internal receiver cup without cutting fabric.
Transom seam separation represents a more serious structural repair requiring full joint disassembly. The wooden or fiberglass transom absorbs massive torque from outboard motors, and water intrusion eventually undermines old factory bonds. When tackling transom rebuilds, clean away all oxidized adhesive down to bare wood and substrate before re-bonding with thickened epoxy or specialized marine structural adhesive kits.
Assessing worn canvas and hardware on bimini tops
A boat bimini top provides crucial relief from solar heat, but continuous exposure to wind and ultraviolet light eventually destroys marine canvas. Polyester and acrylic fabrics gradually lose their water-repellent coatings, leading to persistent dripping during rainstorms and fiber thinning that permits harmful rays to pass through. Inspect your top annually for broken stitching along structural hems and zipper sleeves.
Thread rot frequently causes canvas failure long before the woven fabric itself gives way. If the seams on your sunshade begin unraveling under light finger pressure while the underlying cloth remains sturdy, restitching with UV-resistant thread may extend its life for another season. However, if the canvas feels brittle, exhibits extensive mold staining, or shows stress tears near mounting brackets, ordering a replacement skin becomes necessary.
While inspecting the fabric, examine the aluminum or stainless steel tubing and deck mounts that support the canopy. Check for bent bow sections, wallowed-out mounting screw holes, and cracked nylon hinge knuckles. Upgrading worn nylon fittings to cast stainless steel components ensures your new canvas stays stable when cruising at speed or trailering down open highways.
Measuring frames for bimini top replacement canvas
Ordering an aftermarket replacement canvas requires accurate measurements taken directly from your standing metal frame. Frame manufacturers build tops in standardized height and width ranges, but variations in bow spacing and mounting positions mean off-the-shelf fabric skins must match your specific frame geometry. Never measure an old, stretched canopy laid out on the lawn, as weather exposure alters dimensions significantly.
Start by measuring the mounting width, which is the direct straight-line distance across the boat beam between the two primary deck hinge mounts. Next, determine the overall fabric length by measuring the fore-to-aft span along the center curve of the frame when fully deployed and tensioned. Finally, measure the bow contour length—often called the arc length—by wrapping a flexible tape measure over the top of the main bow from one hinge point to the opposite side.
Note the distance between secondary bows and verify the style of sleeves used to attach the canvas to the tubing. Most modern replacement canvas uses zippered sleeves that slide over assembled bows, eliminating the need to disassemble frame rivets or screws. Ensuring your measurements account for stern light openings and storage boot zippers prevents fitment headaches during seasonal setup.
Pontoon shade setups and heavy frame considerations
Pontoon bimini setups differ considerably from standard runabout canopies due to their broad dimensions and square aluminum framework. Typical pontoon canopies span eight to ten feet in length and eight to eight and a half feet in width, creating substantial wind resistance at cruising speeds. Because pontoon frames mount directly to exterior perimeter railing, replacement fabric must match specific square-tube pocket tolerances.
Heavy pontoon canopies often incorporate integrated features such as pass-through cutouts for masthead navigation lights, zippered access flaps for antenna mounts, and dedicated storage boot attachments. When selecting a pontoon bimini top replacement, verify whether your original frame utilizes a double-top continuous configuration or a single wide canopy, as mounting points differ widely across pontoon manufacturers.
Boaters planning prolonged summer excursions across regional waterways often inspect their canopy and gear before heading to destinations featured in Florida marinas or similar coastal locations where solar intensity is high. A stout frame covered with solution-dyed acrylic fabric keeps helm consoles cool and protects vinyl upholstery from catastrophic premature cracking.
Installing and tensioning your replacement canvas
Installing new marine canvas is easiest when done on a warm, sunny afternoon when the fabric fibers become supple and compliant. Cold canvas resists stretching, making it difficult to pull zipper tracks together across the frame bows. Before beginning, verify that all frame bows are properly aligned and free of burrs or oxidation that could scuff fresh fabric during installation.

Drape the replacement canvas over the center of the frame and loosely secure the bow sleeves without forcing the zippers. Once all frame bows sit inside their respective sleeves, gradually pull down the tension straps at each corner to center the fabric over the perimeter tubing. Work around the boat progressively, alternating between front and rear hold-down straps to apply uniform tension across the entire span.
Proper tension produces a smooth, drum-tight canopy surface without wrinkles or pocketing where rainwater might collect. Ponding water strains stitching and stretches woven fibers out of shape, eventually pulling frame bows out of alignment. Once installed, take the vessel for a test run after launching from a public boat launch ramp to confirm the top does not flutter or vibrate at cruising speed.
Routine care and seasonal fabric maintenance
Routine maintenance preserves the bond strength of tube patches and the water resistance of canvas canopies. Wash your inflatable hull with mild boat soap and fresh water after every outing, removing salt crystals, fish blood, and road grime that abrade fabric coatings. Treat PVC and Hypalon tubes twice each season with a dedicated UV protective fluid to prevent chalking and polymer breakdown.
For bimini canvas, brush away loose dirt and bird droppings regularly using a soft horsehair brush, as organic debris fosters mold growth in fabric weaves. When water stops beading on the canvas surface during rain, clean the cloth thoroughly with mild soap and re-apply a fluoropolymer water repellent spray once dry. Avoid harsh household bleaches or detergents that dissolve protective silicone coatings and weaken synthetic stitching.
Before storing your boat for winter or trailering over long distances, fold the clean, dry canvas into its zippered storage boot. Leaving a bimini deployed during high-speed highway trailering or while running down river channels toward a local boat launch access puts immense stress on frame mounts and accelerates stitching failure unnecessarily.
Published 2026-09-21 · reviewed with each rebuild, last September 2026.
Find marinas near you
The directory lists 7,143 marinas by state and city — pick your state or use the “Near me” button in the header.
More guides
-
 Safety
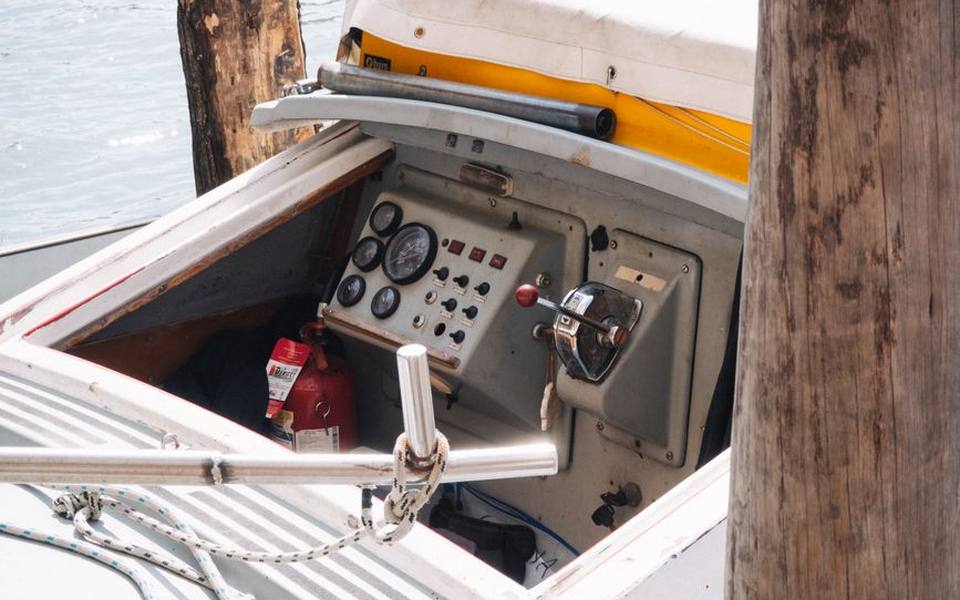
Boat Fire Extinguisher Inspection: Schedule, Checklist, and Costs
-
 Money
MoneyBoat Club Membership Costs: Initiation Fees, Monthly Dues, and Ownership Comparison
-
 Storage
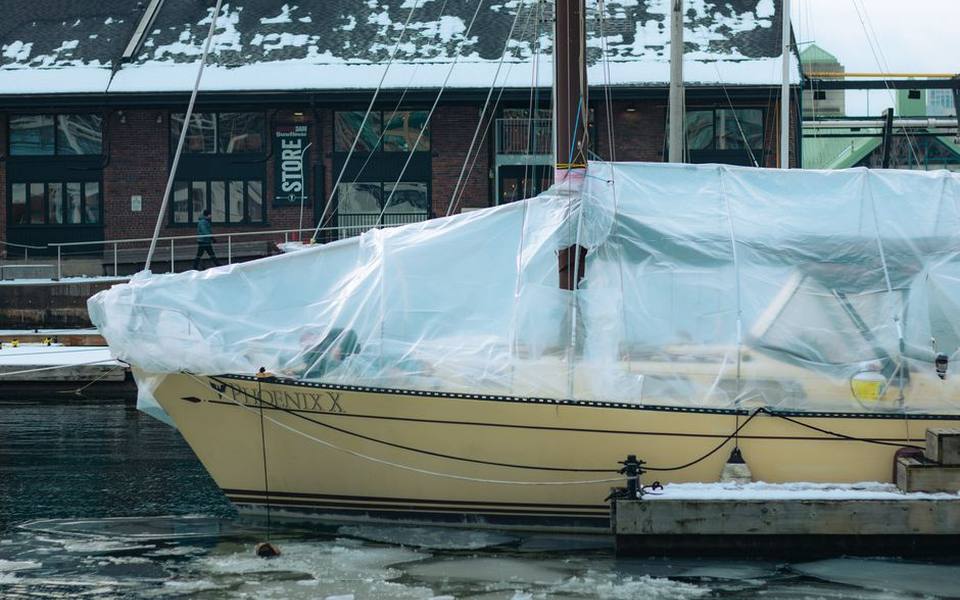
Boat Winterization and Storage: Costs, Checklist, and Shrink Wrapping Guide
-
 Storage
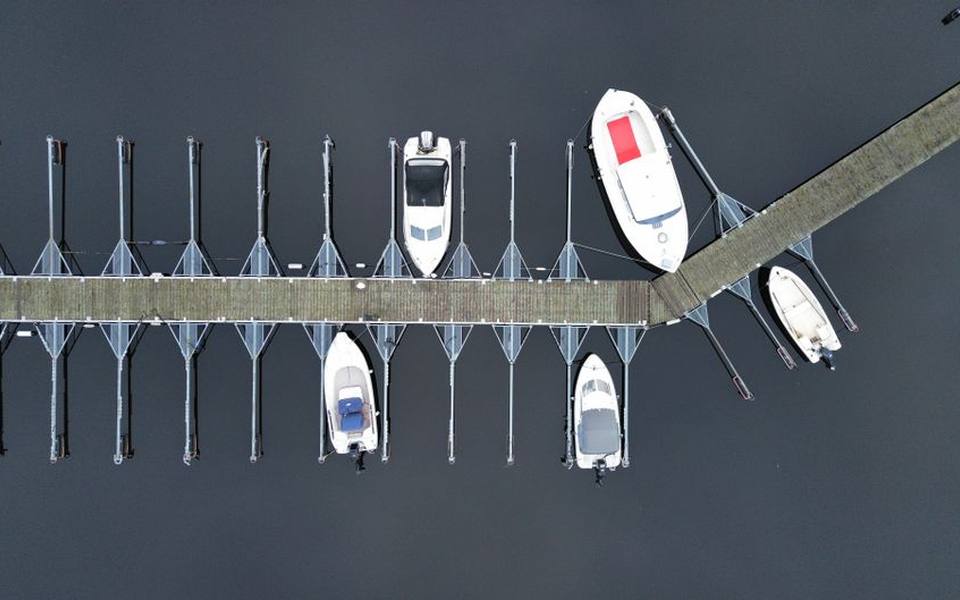
Boat Slips and Docking Fees: How Much Does It Cost to Keep a Boat in the Water?
-
 Owning
Essential Nautical Terms and Practical Boating Knowledge: From the Helm to Harbor Life
-
 Owning
A Practical Guide to Boat Mooring: Buoys, Lines, and Technique
-
 Safety
Essential Boat Safety Gear, Marine Electronics, and Equipment Guide
-
 Service
Outboard Engine Service and Rebuild Costs: What Boat Owners Should Expect to Pay
-
 Safety
Marine Weather Forecasts and Warnings: Reading NOAA Reports and Coastal Maps
-
 Safety
Boating Safety Certification and Licensing: State Requirements and Exam Prep
-
 Service
Saltwater and Freshwater Fishing Charters: Choosing Inshore, Offshore, and Deep Sea Trips
-
 Owning
Bareboat Yacht Charters: How to Rent, Qualifications, and Cruising Preparation
-
 Buying
Pontoon & Tritoon Boats: Buying, Renting, Models, and Pricing Guide
-
 Owning
Holiday Boat Parades and Coastal Festivals: Viewing Guide and Schedules
-
 Buying
A Complete Guide to Buying Used Boats: Valuations, Inspections, and Registration
-
 Owning
Waterfront Dining and Dockside Restaurants: Boater's Guide to Dock and Dine
-
 Owning
Dockside Bait Systems, Live Bait Sourcing, and Fish Cleaning Station Setup
-
 Safety
Marine Fire Safety Inspection and Extinguisher Maintenance
-
 Storage
Complete Guide to Boat Winterization, Shrink Wrapping, and Storage Covers
-
 Buying
Electric Boat Motors and Trolling Systems: The Practical Conversion Guide
-
 Owning
A Practical Guide to Public Boat Launches, Kayak Ramps, and Water Access
-
 Owning
Marine Lithium Batteries vs AGM: Setup, Charging, and Performance
-
Service
Boat Fiberglass & Gelcoat Repair Guide: Fixing Cracks, Blisters & Scratches
-
Service
Marine Fuel Tank Cleaning and Rust Removal Guide
-
Safety
USCG Captain's License Guide: OUPV 6-Pack Requirements and Renewal
-
Buying
Boat Dinghies and Inflatables Guide: Types, Motors, and Selection
-
Service
Boat Towing Services and Marine Assistance Memberships Explained
-
Owning
Boat Lettering, Registration Numbers, and Custom Vinyl Decals
-
Service
Outboard Motor and Lower Unit Maintenance, Repair, and Marine Diesel Guide
-
Buying
Shallow Water Anchor Systems: Power-Pole vs. Minn Kota Talon & Raptor
-
 Service
Complete Guide to Marine Bottom Paint and Antifouling Application
-
Owning
Cruising America's Great Loop: Route Planning, Boat Choice, and Cruising Resources
-
Service
Boat and Fishing Charters: Complete Guide to Styles, Rates, and Booking
-
Buying
Personal Watercraft and Jet Ski Guide: Models, Rentals, and Buying
-
 Owning
Marine Supply Stores and Chandleries: Outfitting Your Boat
-
Safety
Marine Weather Forecasts and NOAA Wave Reports: A Practical Boater's Guide
-
Safety
USCG Boat Registration, Boater Education, and Navigational Safety Rules
-
Owning
Marine Lithium Batteries, Solar Panel Systems, and Trickle Charging Guide
-
Service
Boat Trailer Maintenance: Bearings, Replacement Kits, and Towing Prep
-
Safety
Marine VHF Radio Frequencies, Channels, and Electronics Setup
-
 Service
Complete Boat Hull Maintenance Guide: Washing, Acid Cleaners, Gelcoat Repair, and Antifouling Paint
-
Owning
Buoy Mooring Setup, Dock Lines, Cleat Hitch Knots, and Anchor Pins
-
 Owning
Boat Trim Tabs Guide: Lenco, Zipwake, Bennett, and Electric vs Hydraulic
-
Owning
Upgrading Boat Swim Platforms, Boarding Ladders, and Marine Vinyl Seating
-
Owning
Best Gifts for Boaters, Practical Marine Accessories, and Kayak Storage Racks